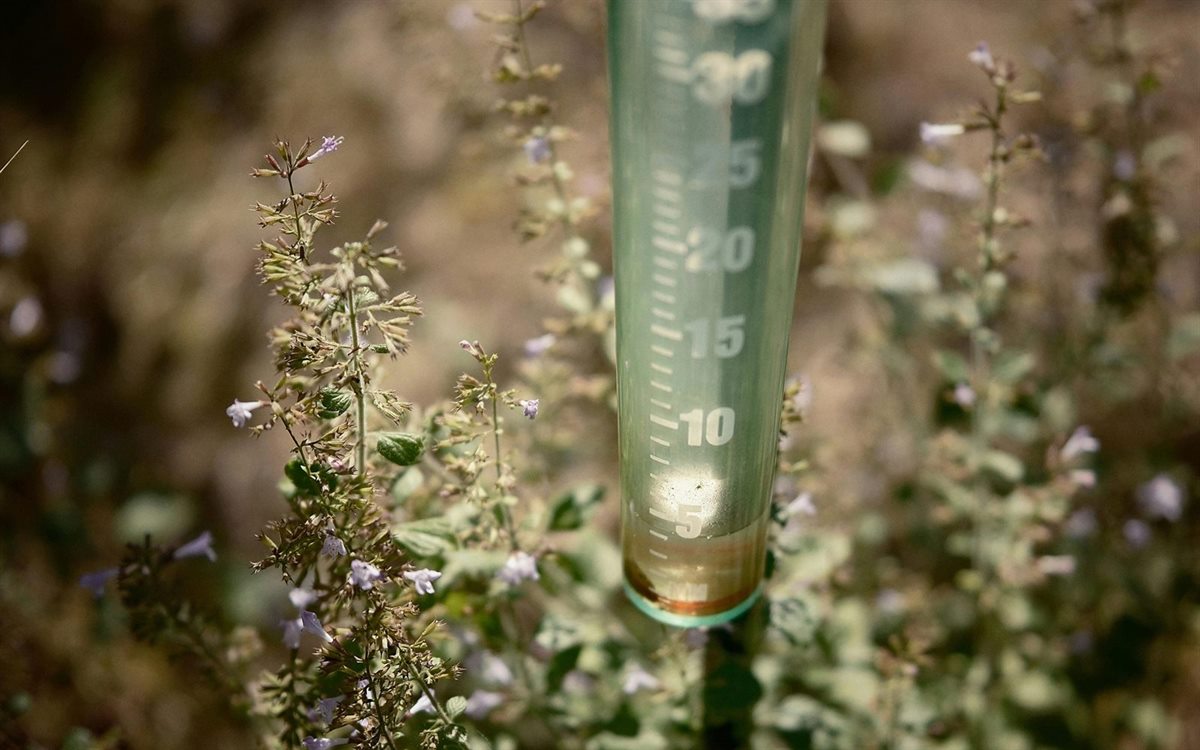
If your yard turns into a shallow pond every time it rains, the problem is not always that you need more concrete, a bigger drain, or an expensive French drain. Sometimes the smarter fix is to give the water a place to slow down, spread out, and soak in.
That is why rain gardens keep showing up in water-smart landscaping conversations. A rain garden is a shallow planted area that catches runoff from roofs, driveways, walkways, or compacted lawn and lets it infiltrate instead of racing across the property. The EPA describes rain gardens as a cost-effective way to reduce runoff, filter pollutants, and add habitat for birds and pollinators.
The best part for homeowners: a small rain garden can look like an intentional landscape feature, not a drainage repair.
Start by Watching the Water
Do not start by buying plants. Start by watching one real rainstorm.
Walk the yard while it is raining or immediately after. Look for:
- Water spilling from a downspout and cutting across mulch.
- A low lawn area that stays wet after the rest of the yard dries.
- Driveway runoff that shoots toward the sidewalk or street.
- A bare spot where soil washes away.
- A patio edge where puddles collect.
Take photos from the same angle you would use for a YardRemix upload. You are not just documenting the problem. You are capturing the shape of the future design: where the water enters, where people walk, what views matter from the house, and where a planted bed would actually look good.
Know What a Rain Garden Is Not
A rain garden is not a pond. It should not hold standing water for days. It is a planted depression that fills during a storm and then drains.
That distinction matters because a soggy hole in the yard can create mosquito problems, plant failure, and foundation risk. A functional rain garden needs the right location, soil, and overflow path.
The University of Minnesota Extension recommends putting rain gardens where they can collect runoff, keeping them at least 10 feet from buildings, and testing whether water can soak away within 48 hours. If it cannot, choose another spot or get professional drainage advice.
Pick a Spot That Solves One Problem
The easiest DIY rain gardens solve one specific issue. Do not try to redesign the entire yard in one pass.
Good starter locations:
- Near a downspout that already dumps water into the lawn.
- Along a driveway edge where runoff crosses grass.
- At the bottom of a gentle slope, away from the house.
- Beside a patio where water currently pools but can safely overflow.
Avoid locations:
- Within 10 feet of the foundation.
- Over septic fields, buried utilities, or tree root zones.
- Where water already stands for more than 48 hours.
- Where overflow would move toward a neighbor's property or your house.
Call your local utility marking service before digging. Also check municipal stormwater rules if you plan to redirect roof or driveway water.
Size It Like a Landscape Feature, Not a Hole
Most homeowners make rain gardens too small visually or too deep functionally. The goal is a shallow, graceful bed that briefly catches water and still looks good dry.
A practical DIY range is often 6 to 8 inches deep, with gently sloped sides. The exact dimensions depend on soil, slope, and how much hard surface is draining into it. The University of Minnesota notes that typical rain gardens range from 100 to 300 square feet and can handle runoff from a hard surface about three times their size when designed correctly.
For a first project, think in terms of a bed shape you would be happy to see every day:
- A kidney-shaped bed at the edge of the front lawn.
- A long, narrow swale-style garden beside a driveway.
- A curved planting bed beneath two downspouts.
- A rounded island bed that collects water from a patio corner.
This is where visual planning matters. A rain garden can be technically useful and still look awkward if it is shaped like a random pit. Use a hose or rope to outline the bed before digging, then take a photo and preview a few variations in YardRemix: wider curve, stone edge, ornamental grasses, native flowers, or a cleaner modern gravel border.
See this idea on your own yard photo.
YardRemix turns a quick photo into AI yard concepts, so you can compare layouts, plants, patios, lighting, and budget-friendly options before you start digging.
Build in Three Planting Zones
Rain gardens work best when plants are matched to moisture levels. The center gets wettest. The upper edge dries fastest.
Use three zones:
- Bottom zone: Plants that tolerate temporary standing water and wet soil.
- Slope zone: Plants that can handle wet-dry swings.
- Top edge: Plants that prefer ordinary garden conditions but can take occasional splash.
This layered approach also makes the bed look designed. Taller grasses or shrubs can anchor the back, medium perennials can fill the middle, and lower groundcovers can soften the edge.
Regional plant choices matter. A rain garden in Minnesota is different from one in Texas, Georgia, or California. Use your local extension service or a native plant society for specific recommendations. In many regions, native sedges, rushes, iris, milkweed, cardinal flower, switchgrass, coneflower, and asters are common starting points, but the right list depends on your soil and climate.
Add an Edge So It Looks Intentional
Drainage projects often fail visually because they look unfinished. A crisp edge changes that.
Options:
- Natural stone for a cottage or woodland look.
- Steel edging for a modern yard.
- River rock only at the inflow point, not across the whole bed.
- Mulched planting edge for the lowest-cost install.
- A short mowed lawn strip around the bed for easy maintenance.
Do not overdo rock. A rain garden is primarily a planted system, not a dry creek prop. Use stone where water enters, where soil might erode, or where you need a clean border.
Think About Water Savings Too
Drainage is only half the benefit. If the right plants are in the right place, rain gardens can reduce the need for extra irrigation after establishment.
The EPA WaterSense program says residential outdoor water use in the United States accounts for nearly 8 billion gallons each day, mostly for landscape irrigation. A water-smart yard does not mean a bare yard. It means shaping the landscape so rainfall does more of the work.
That can mean redirecting one downspout into a planted basin, replacing a wet strip of lawn with native perennials, or using mulch and groundcovers to hold soil in place.
Budget for Soil, Mulch, and Establishment
The plants are not the only cost. A realistic starter budget should include:
- Compost or soil amendment if your soil needs improvement.
- Mulch for the first few seasons.
- Edging or stone for inflow and border definition.
- A downspout extension if you are routing roof water.
- Extra plants to fill gaps after the first year.
The first season is establishment. You may still need to water during dry spells, pull weeds, and replace a few plants. By year two or three, a well-planted rain garden should look fuller and need less attention.
When a Rain Garden Is Not Enough
Some yards need more than a DIY planted basin.
Get professional advice if:
- Water is entering the basement or crawlspace.
- The wet area is very close to the foundation.
- The yard has a steep slope.
- Water comes from a neighbor's property or public street.
- The soil fails the drainage test repeatedly.
- You need to tie into underground drainage.
A rain garden is a landscape tool, not a fix for every drainage problem.
Preview Before You Dig
The hardest part of a rain garden project is not always the digging. It is deciding what the bed should look like when it is dry, full, and visible from the street.
YardRemix helps with that early decision. Take a photo of the soggy area, try a prompt like "add a natural rain garden with native flowers, ornamental grasses, and a stone edge," and compare a few directions before buying plants. You can test whether the garden should be wider, whether a curved edge works better than a straight one, or whether a modern gravel border fits your house.
That does not replace soil testing, utility marking, or local plant guidance. It just helps you make the visual decision faster, which is usually where homeowners get stuck.
Turn the idea into a visual plan before you spend a weekend on it.
Download YardRemix, snap a photo, and test yard designs with AI. It is a faster way to compare styles, avoid expensive guesses, and share a clearer direction with a contractor or helper.